
It's the Simple Things
|
My son's daycare teacher, Miss Pam, has been a bit under the weather lately, so I wanted to make a card to tell her how much we love her and everything she does for Dallas. Today is the last day of daycare before the Thanksgiving holiday, so we will give it to her today :) 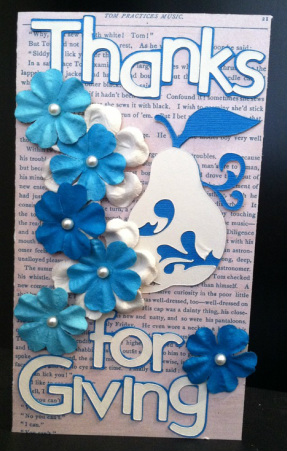
 I started by cutting the card base out. I cut the card at 6 x 8, which makes a 4 x 6 card when it is folded in half. The next thing I did was cut all the peices out, using my cricut. I cut the pear out using the cricut cartridge, Wall Decor and More, and cut the Thanks for Giving title out using my Sans Serif cricut cartridge. I cut the the pear image out twice, once in cream and the second time in blue, then cut the layer image once in blue. I did this so I could use the swirl, stem, and leave from the blue image to layer on top of the cream. I wanted the final image to more color, and I think this worked out pretty well. I cut the title out in cream. For the title shadow, I used the weld feature in cricut craft room to attach each letter, and cut it out in blue.
Next, I put everything together, attaching the title and pear. It still needed something, so I went searching in my supplies box, and found these great blue and cream color paper flowers. I think they added the perfect final touch. I hope Miss Pam loves the card as much as I do!!! Materials Used: Cricut: Wall Decor and More and Sans Serif Paper: DCWV - A Type of Art paper stack Flowers: paper flowers from Michaels
7 Comments
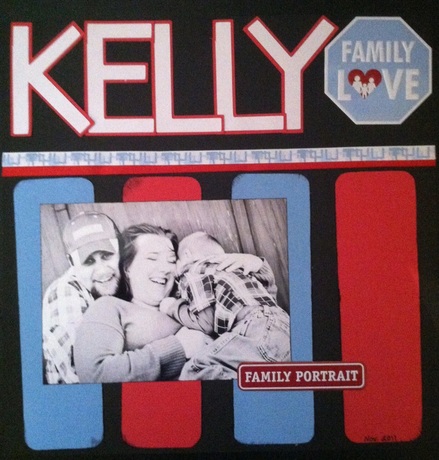 The one thing I really, really wanted this year for Christmas was A family portrait. We had some snapshots of all three of us together, but nothing done professionally. I found that one of my former dance students is now a professional photographer in Forney, Texas. If you are near Forney, Tucker Images is great. She took some amazing shots of our family, but this one was my favorite.
When it was time to scrapbook this picture, I wanted to highlight the black and white picture, but still have some really bright colors as well. I love bright, bold colors in everything…my scrapbooks and my photography. I wish I could remember where I got this sketch from, but it was out of one of my scrapbooking magazines. I adapted it a bit to add the large title block at the top. I cut the letters for “KELLY” using my Cricut, cut the four color strips out of textured cardstock and inked the edges using my Stampin Up black ink pad. Then it was a easy as gluing it all together, adding the ribbon and the metal accents. I love how the black and white photo “pops” off the page. Materials used: Paper: Textured cardstock by Imagine That Ribbon: Sparkle and Shine (blue) and Celebrate It (red) both by Michaels Ink: Stampin Up Basic Black Letters: Cricut, Sans Serif Font Cartridge Metal Accents: EK Success Photography: Tucker Images 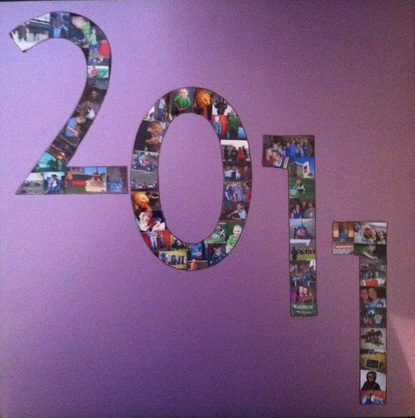 Every scrapbook deserves a great title page, and when you scrapbook by year, like I do, it is almost a necessity. I discovered this little trick, using index prints, a couple of years ago and have put it to good use in a number of my scrapbooks. To do this, I cut out the numbers “2011” using my cricut, and cut out the index print pictures that I love, leaving no border. Then it is just a matter of filling in the numbers and cutting away the excess pieces of index prints. For a title page, I see this as a quick overview of the year and a good way to show what great things are to come. Materials used: Paper: DCWV, the Metallic Stack in Nightlife Cricut: Sans Serif Fonts Cartridge Index prints: from the entire year of 2011 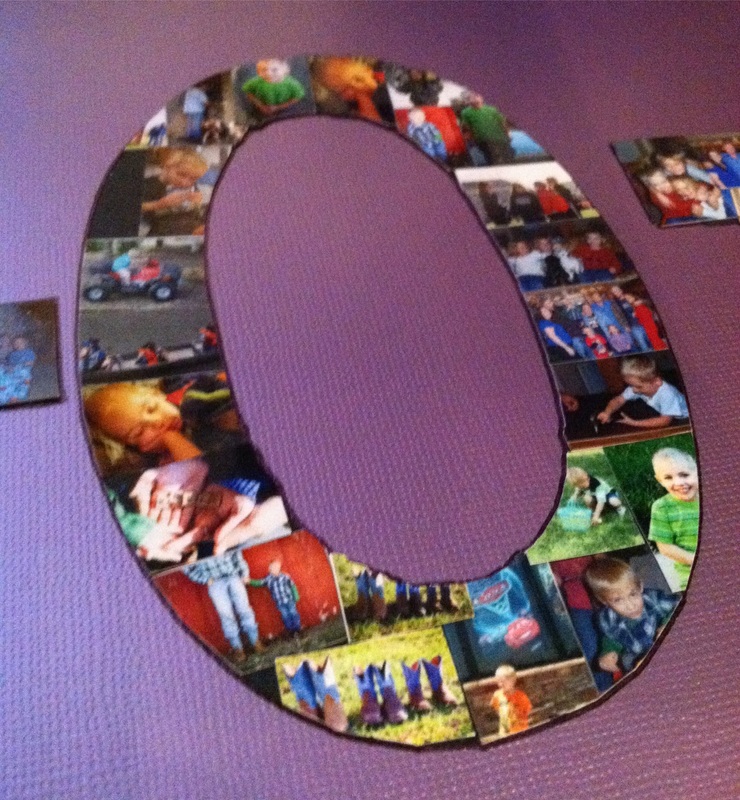
Close up of the index prints
|
 

JoNeita & Dallas - Dec. 2021
About MeMy name is JoNeita Kelly and I have been crafting for at least the last 20 years. I live in Forney, Texas with my son, Dallas. I am a High School teacher and Cheerleading Coach. I love to craft and to continue to improve my photography and editing skills whenever I have free time. What I love most is telling our story using pictures, it is the most important gift I can leave my family. 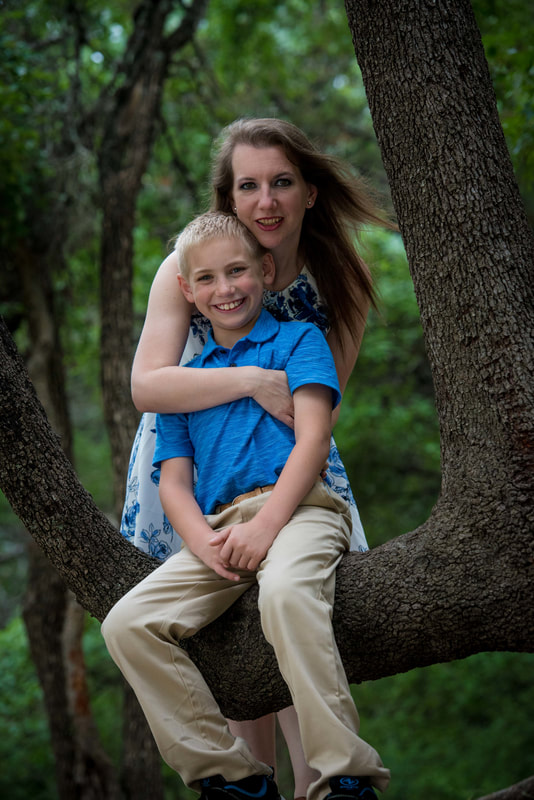
Photo by Steven Mackie Photography.
Categories
All
Archives
December 2021


Former Design Team Member for Fantabulous Cricut Challenge Blog
 |

 RSS Feed
